Easy instructions for repairing clothes
Did you know that emissions are reduced by around 40% if a garment is worn twice as long instead of the average 160 times? It's normal for a garment that has served for a long time to show wear and tear over time. Since extending the life cycle of a garment is a significant environmental act, it is always worth maintaining a high-quality garment. At Nanso, we want to help keep your favorite clothes looking good for a long time. For this reason, we collected easy sewing instructions for sewing a loose seam and a detached button.
Repair of a loose seam from a fabric product
You need a sewing machine and thread.
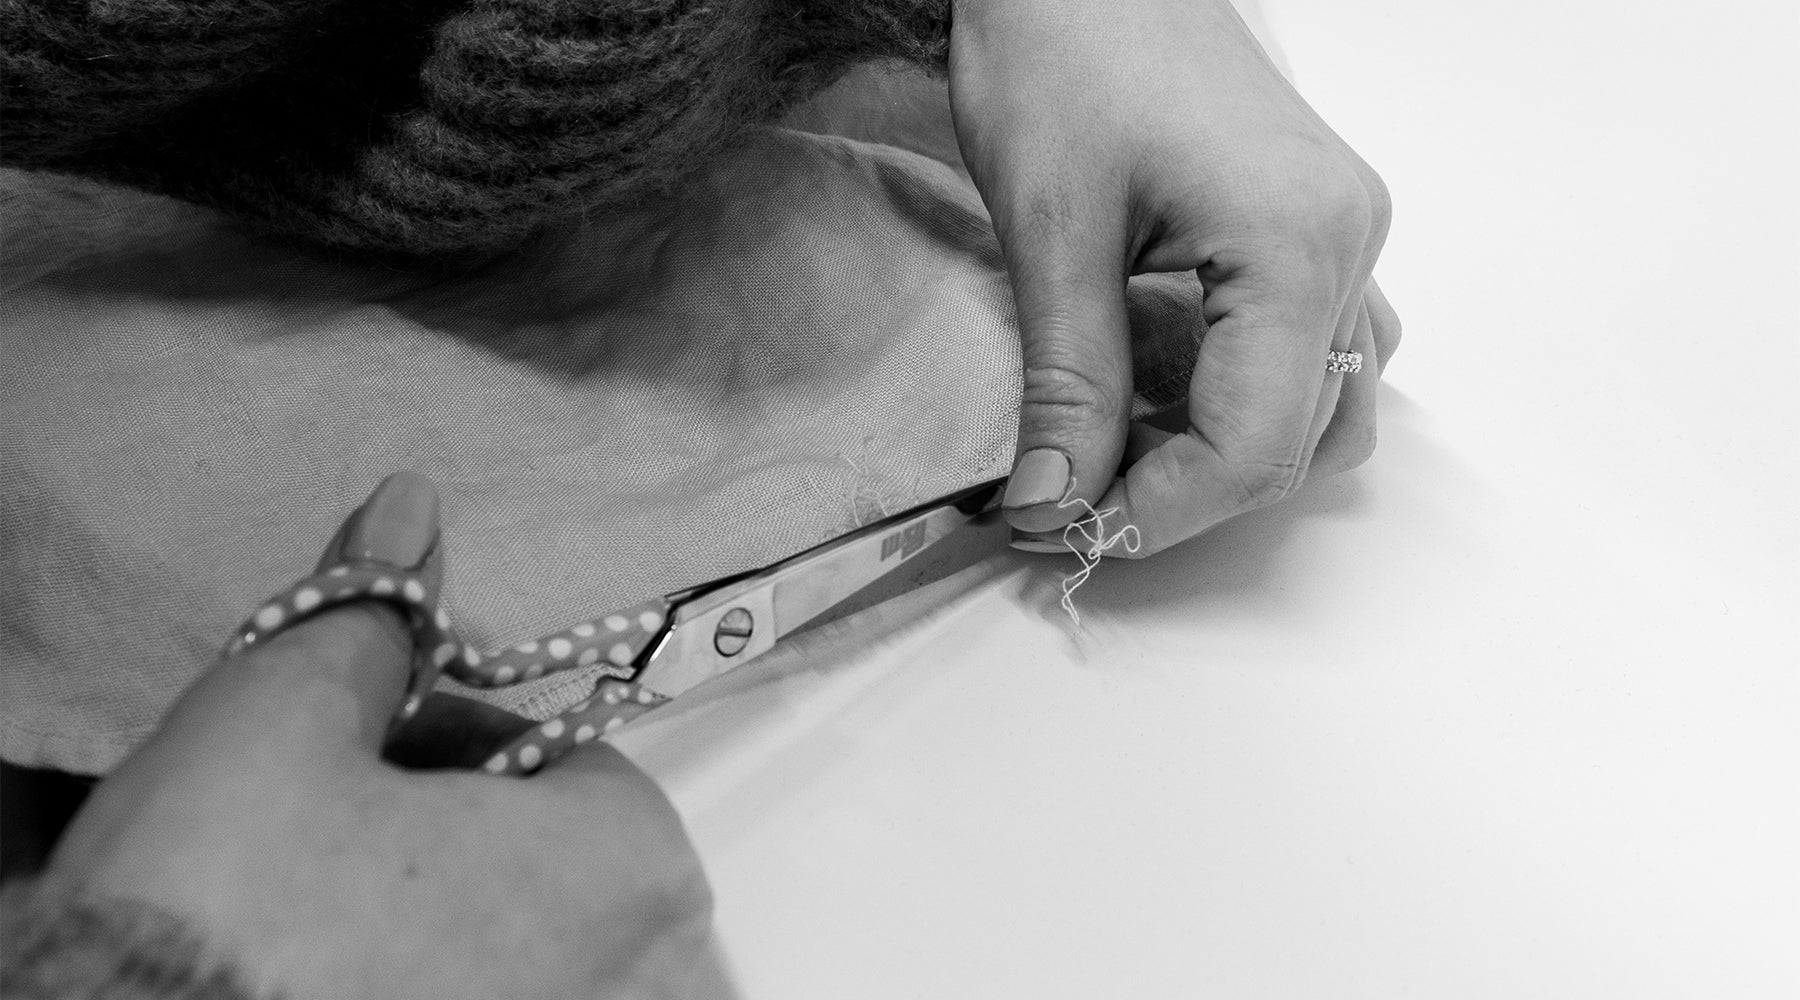
1. Cut the broken threads.

2. Start quilting at the point where the stitch is intact. Do a back and forth reversal to the beginning to keep the stitch. Quilt the resolved point and stop quilting only after you have reached an intact stitch. Make a round-trip cancellation.

3. Neat pieces of yarn from the edge.

4. Finally, clean and strengthen the edge by seaming, or if you don't have a seamer, you can clean the edge with a sewing machine's zigzag stitch.

You can also use the same instructions to repair a loose pocket bag. Please note that in tricot products, the seam can only be repaired using a seam sealer.
Sewing instructions for a detached button
You need thread, a needle and a button.
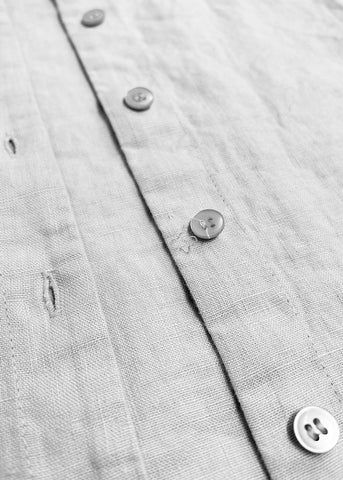
1. Neatly place the button by first cutting off the existing pieces of thread.

2. Put the thread twice on the needle and make a knot at the end of the thread. Start sewing from the back. Copy the way the other buttons are sewn. Repeat until the button is firmly sewn in place.

3. Finish sewing the button: pass the needle through the loop remaining on the back side and tighten. Repeat 3-4 times.

4. Neat pieces of yarn at the end.

If you have lost the original button, please check the product's care label. Often our cardigans and jackets come with a spare button attached to a washcloth.


